


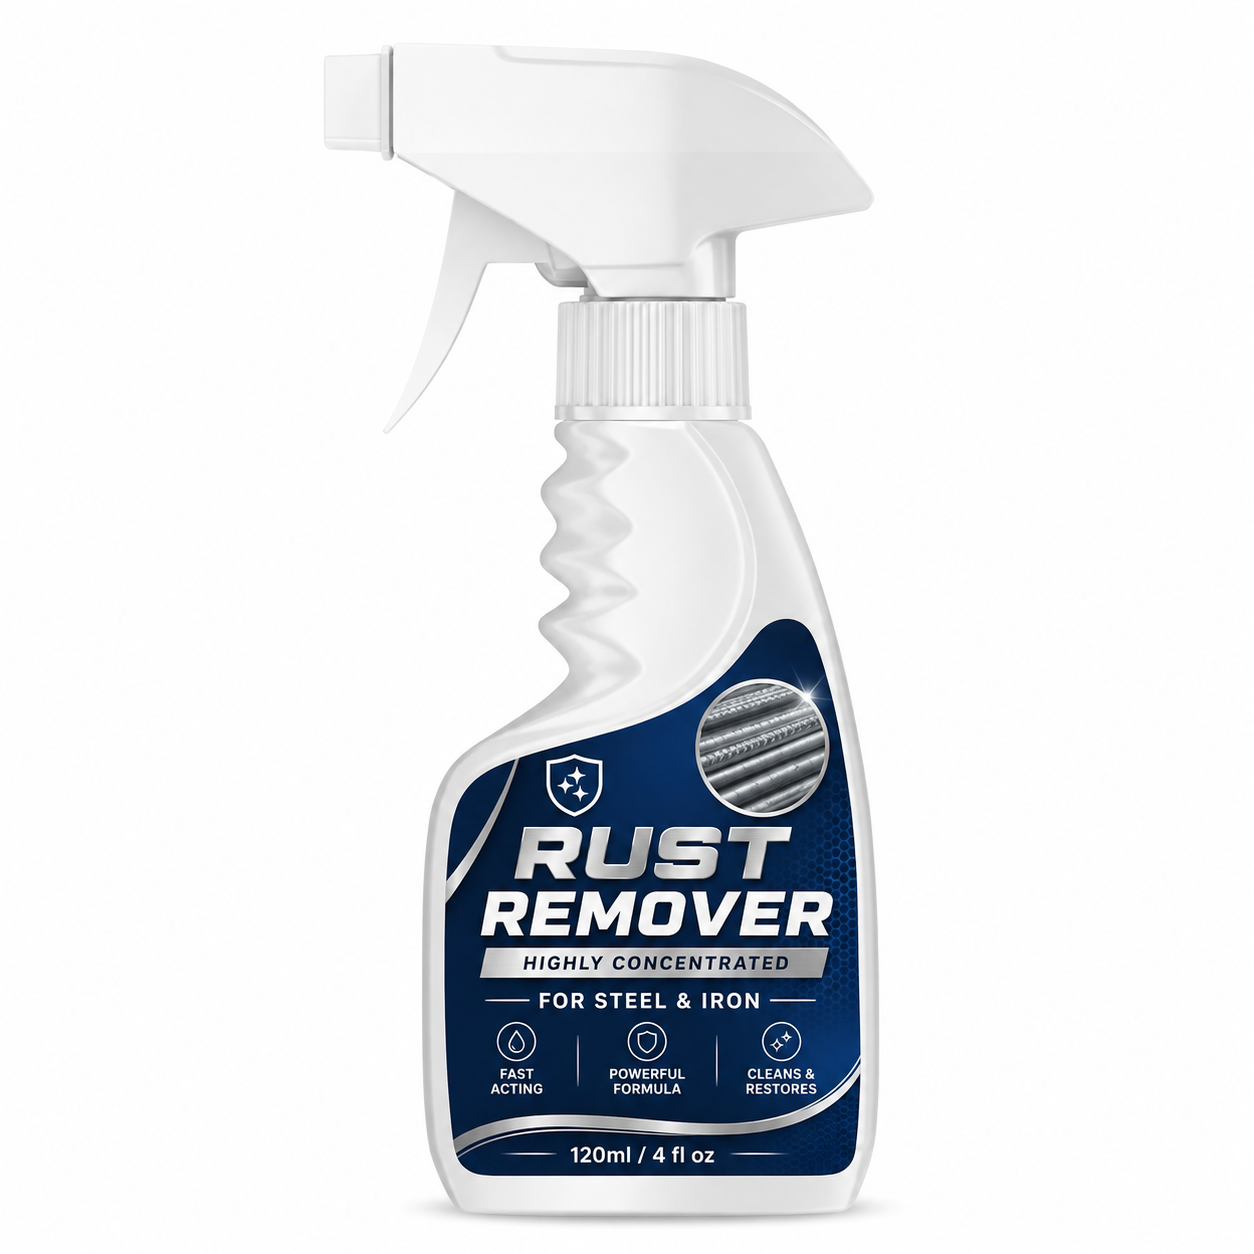
A Faster, Cleaner Way to Deal With Stubborn Rust
See how a targeted spray-on formula can help loosen oxidation, lift rust residue, and make neglected tools, fixtures, and metal parts easier to restore.

Use results vary by surface, rust depth, contact time, and application method.
Rust removal often turns into a frustrating cycle: brush the surface, wipe away the loose flakes, and discover that discoloration remains in seams, texture, and hard-to-reach areas. Aggressive grinding may also scratch the underlying finish or remove more material than intended.
Strong, Penetrating & Fast-Acting Stainless Steel Rust Remover is positioned as a more controlled option for routine metal-care jobs. Instead of relying only on force, the liquid contacts the affected area and helps loosen rust residue so it can be wiped or lightly brushed away. For best results, always follow the bottle directions, patch-test first, and match the product to the specific surface.
It Reaches Textured Areas a Wire Brush Can Miss
Rust rarely develops on a perfectly flat, open surface. It settles around threads, bolt heads, corners, welds, stamped texture, and narrow gaps where manual brushing becomes slow and uneven.
A liquid application can spread across those irregular areas and maintain contact while it works. That makes it especially useful as a preparation step before wiping, rinsing, drying, and applying a suitable protective coating.

“The most useful part was being able to reach around the fastener and into the grooves without spending the entire job grinding at the surface.”
Restore Useful Items Before Replacing Them
Surface rust can make a tool, bracket, fixture, or spare part look worse than it is. When the item is still structurally sound, cleaning it may be more practical than replacing it.
This is where a focused rust-removal step can create value: it helps reveal the underlying surface so you can inspect the item properly and decide whether it should be reused, refinished, protected, repaired, or safely retired.
- Useful for neglected hand tools and workshop hardware
- Helps prepare metal for further cleaning or refinishing
- Can reduce unnecessary replacement of serviceable items

“I cleaned an old wrench set before deciding whether to replace it. Once the surface rust was gone, most of the set was still perfectly usable.”
One Product for Multiple Everyday Metal-Care Jobs
A versatile rust cleaner is most useful when the surface compatibility is clearly understood. Depending on the directions on your bottle, it may be suitable for common steel, stainless-steel, iron, cast-iron, or selected automotive and household metal parts.
Compatibility should never be assumed. Finishes, coatings, plating, paint, and delicate alloys can react differently, so a small hidden-area test is essential before a full application.
- Workshop tools, bolts, brackets, and selected hardware
- Selected household fixtures and stainless-steel surfaces
- Garden tools, metal frames, and compatible automotive parts

Less Grinding, Less Scrubbing, More Controlled Cleaning
Heavy manual scrubbing is tiring, messy, and difficult to control around edges and detailed parts. A spray-on treatment can do part of the loosening work before you wipe or use a light brush.
Deep corrosion may still require repeated treatment or mechanical preparation. The goal is not to promise zero effort in every situation, but to reduce unnecessary effort and make the cleaning stage more manageable.

“The spray-and-wipe process was much easier on my hands than starting with a stiff wire brush.”
A Practical Preparation Step for Better-Looking Results
Cleaning is only one part of restoration. After rust residue is removed, the surface should be inspected, rinsed when required, dried completely, and protected with an appropriate finish, lubricant, sealant, paint, or corrosion inhibitor.
This sequence matters because freshly cleaned bare metal can begin oxidizing again when exposed to moisture and air. A careful finishing step helps preserve the work you just completed.

“Cleaning the part first made it much easier to inspect the metal and prepare it for a fresh protective coat.”
Help Keep Rust From Returning Too Quickly
No rust remover can permanently stop corrosion by itself. Long-term results depend on complete drying, storage conditions, humidity, surface exposure, and whether a suitable protective layer is added afterward.
After cleaning, keep the item dry and address the cause of recurring moisture. For tools and parts stored in garages, sheds, vehicles, or coastal environments, periodic inspection and corrosion protection are especially important.
- Dry cleaned surfaces thoroughly
- Apply a compatible protective treatment when appropriate
- Store tools away from standing moisture and condensation
- Inspect frequently used outdoor parts on a regular schedule

How to Use It in 3 Simple Steps
Prepare
Remove loose dirt, dry the area, wear suitable gloves, and test a hidden spot first.
Apply & Wait
Spray enough product to cover the rust and allow the exact dwell time stated on the label.
Wipe & Finish
Wipe or lightly brush, rinse if directed, dry thoroughly, and add protection when appropriate.

Why Use a Targeted Rust-Removal Formula?
Different rust-removal methods suit different jobs. This table positions a spray-on formula against dry brushing and common household soaking methods without making unrealistic guarantees.
| Feature | Targeted Spray Formula | Brush or Household Soak |
|---|---|---|
| Coverage | Flows into grooves, edges, and textured areas | May be uneven or require full immersion |
| Physical effort | Helps loosen residue before wiping | Often requires repeated scrubbing |
| Application control | Can be aimed at a localized area | Brushes may scratch; soaks can be messy |
| Use time | Follow product-label dwell time | Varies widely by method and rust level |
| Best use | Routine household and workshop restoration | Loose surface rust or items suited to soaking |
Comparison is general. Actual performance depends on the product formula, surface material, corrosion depth, temperature, contact time, and finishing process.
Give Serviceable Metal a Fair Chance Before You Replace It
Strong, Penetrating & Fast-Acting Stainless Steel Rust Remover fits naturally into a practical restoration routine: inspect, test, apply, wipe, dry, and protect. It is designed for customers who want a cleaner alternative to beginning every job with aggressive grinding or prolonged scrubbing.

What Users Value Most
Customers value a straightforward way to handle surface rust on tools, hardware, and hard-to-reach metal parts. These experiences highlight the practical benefits users appreciate most: controlled application, easier cleanup, and a simple spray-and-wipe routine.
Much easier around small parts
“I used it around bolts and narrow corners where a large brush was awkward. The cleanup felt more controlled and the surface was easier to inspect afterward.”
Helped save an old tool
“An old garden tool looked ready for the bin, but most of the problem was surface rust. After cleaning and drying it, I added a protective coat and kept using it.”
Simple routine to follow
“Prepare, spray, wait, wipe, and dry. I liked that the process was straightforward and did not start with aggressive sanding.”